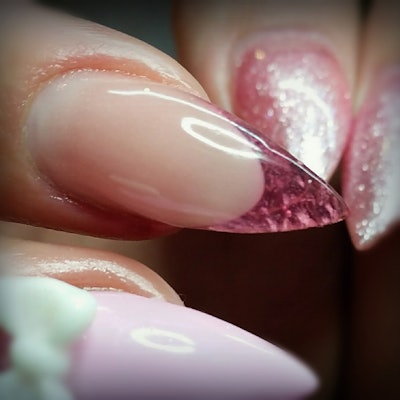
Sarah, of @getbuffednails, has been creating unique nail art for quite some time, and her new designs never cease to catch our attention! For a mermaid manicure she recently did, Sarah created acrylic nail tips that mimic the appearance of flowing water. Follow Sarah’s instructions to see how she made this look happen.
What you will need:
Nail forms
Double sided tape
Color drops
Tin foil
Clear acrylic
Clear top-coat
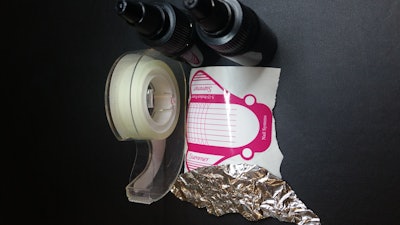
1. Start by preparing your form. Using the double sided tape, stick the slightly scrunched foil onto the form.
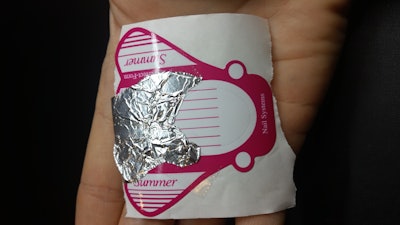
2. It will look something like this when folded.
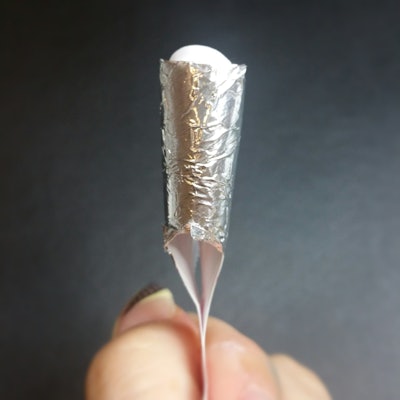
3. Cover the natural nail with an opaque pink cover acrylic and shape it to the desired nail length.
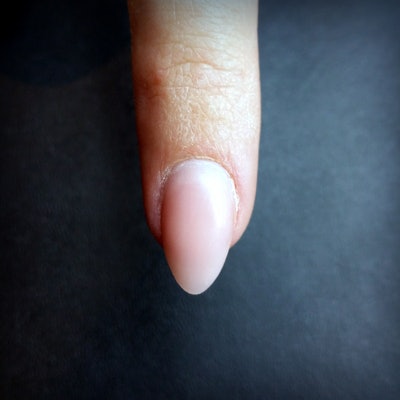
4. Place form under the nail bed you created.
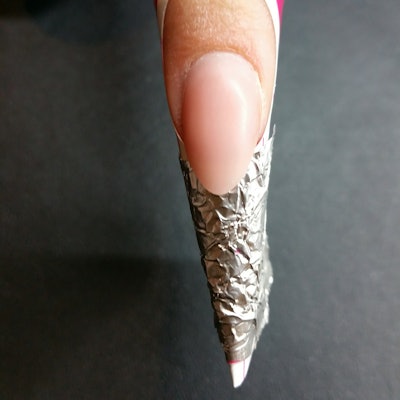
5. Add color drops to your monomer in whichever color you prefer.
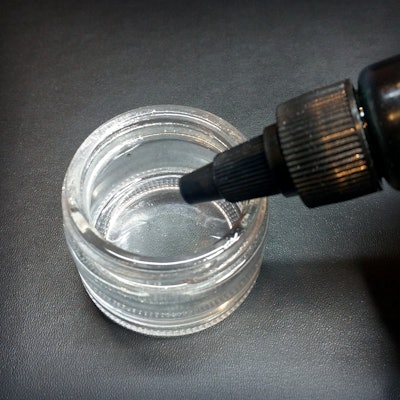
6. The liquid will change color, like so.
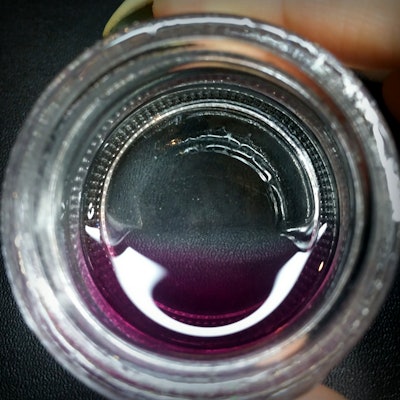
7. Try the liquid with clear powder.
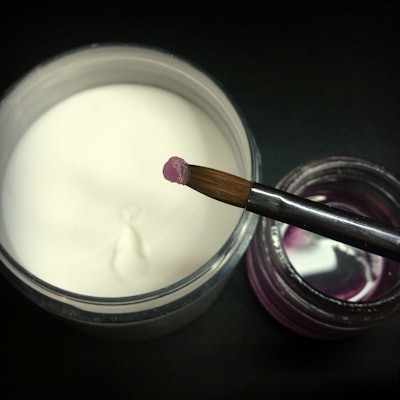
8. Place the acrylic in the smile line, and roughly mold to desired shape. Note: Keep the layers thin. Apply a clear acrylic layer to cap the entire nail.
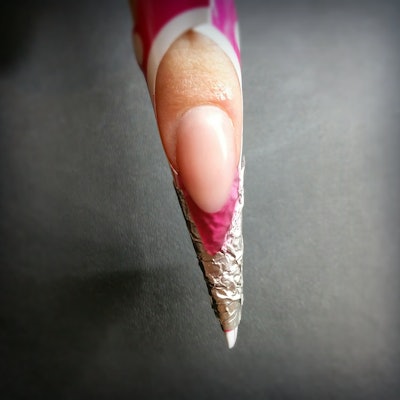
9. Pinch to give a slim, tapered shape.
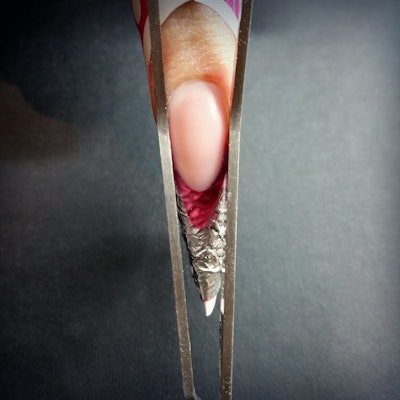
10. Buff the nail smooth.
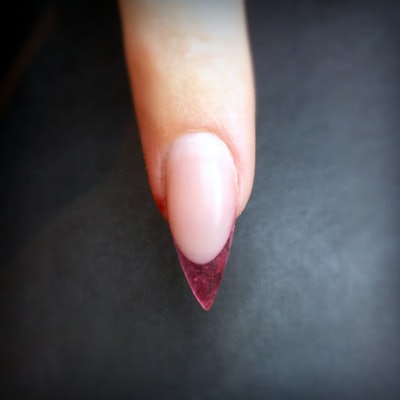
11. Apply a top-coat, and you’re finished!
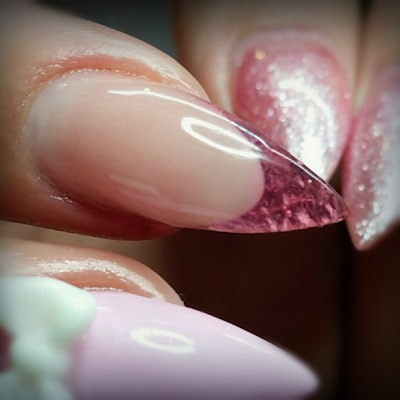
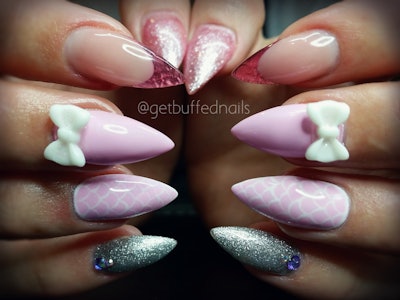
Here are a few images of another manicure by @getbuffednails done with this same technique!
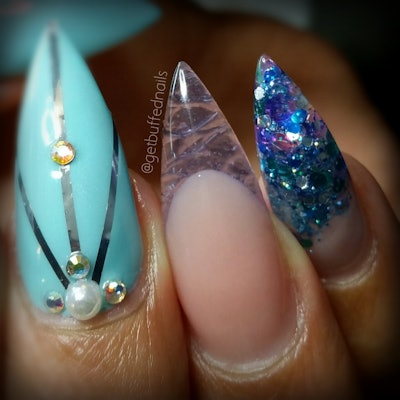
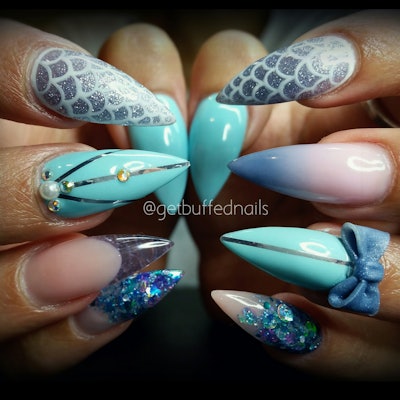
For more from Sarah:
[Images: @getbuffednails]


