Nail Art Tutorial: Melted Snowballs

Image8 Cover

Nail Art Tutorial: Melted Snowballs

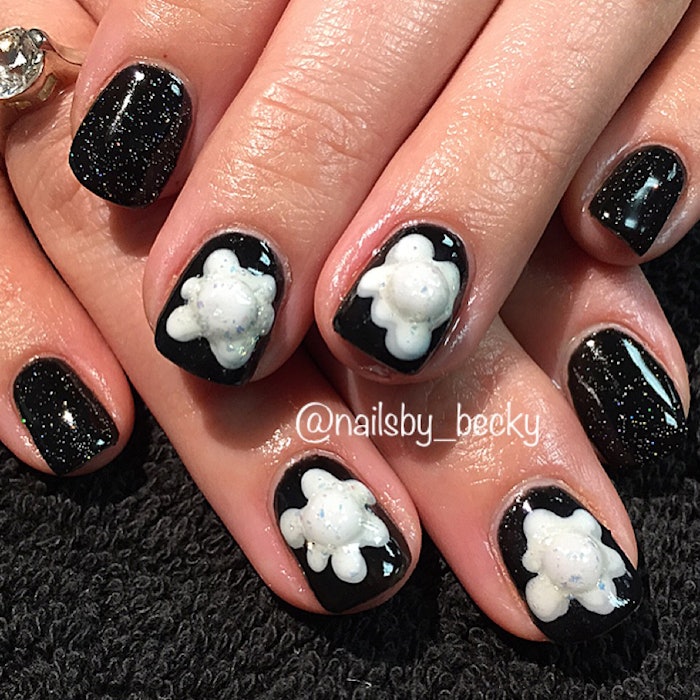
Here’s a cute winter design to mix up your regular reindeers, snowflakes, and gingerbread men. This melted snowball lets you mix 3-D acrylic sculpting with gel polish nail art. Check out how Becky Carter (@fancy_fingers) got the whimsical look.

Image1 0Items used:

  • Gelish base coat
  • Gelish top coat
  • IBD Black Onyx
  • IBD Fireworks
  • Gelish Sheek White
  • Gelish Cashmere Kind Of Gal
  • Gelish Trends Rough Around The Edges
  • White acrylic powder
  • Monomer
  • Dotting tool
  • Acrylic 3-D brush

Step 1: Prep nails as usual. Apply base coat and two coats of black onyx.

Image2 0Step 2: Add IBD Fireworks on three fingers of choice.

Image4 0Step 3: Using Cashmere Kind Of Gal and dotting tool, make a “splat” shape. Make your “splats” different on each finger.

Image5 0Step 4: Using Sheek White and dotting tool, go along the top of Cashmere Kind Of Gal, leaving an edge on the bottom for a 3D effect.

Image6 0Step 5: Using acrylic brush, monomer and white acrylic powder, create one small ball of acrylic on each “splat.”
-Tip-
Once you have your acrylic on your brush, remove the extra liquid by touching the back of the brush on your paper towel. This will help the acrylic keep a ball shape and not run down the nail.

Image7 0Step 6: To have more of a 3-D effect, use Cashmere Kind Of Gal to make a line below the snowballs. You could leave your snowballs like this if you’d like, or for that extra winter snow sparkle, using Trends Rough Around The Edges, polish over the white areas.

Image8Step 7: Apply your top coat, wipe off the tacky layer, and apply your cuticle oil.


Find Becky’s work online:
Instagram: @fancy_fingers
Twitter: @BLCarter28

[Images: Becky Carter]

More in Technique