From prepping and priming the nails to applying product and putting the finishing touches on a completed set, there’s a reason why acrylic pink-and-whites remain a difficult service to perfect.
Here, we demonstrate how you can create the perfect set of pink-and-white acrylic enhancements.
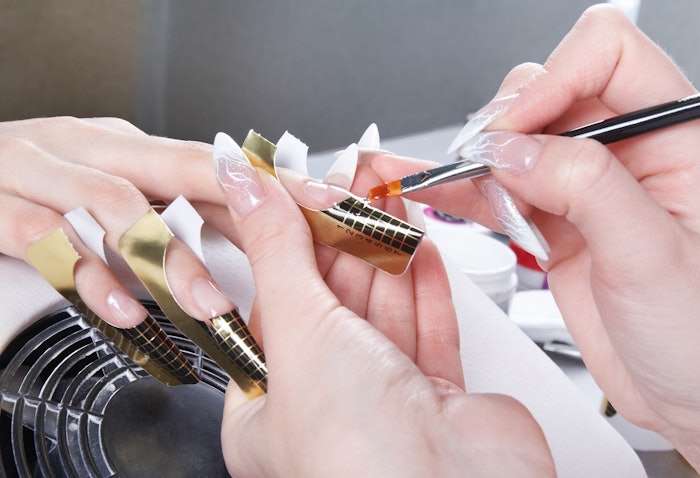
How-To:
1. Wash Hands Thoroughly

Begin your service by washing your hands and having the client wash and brush the nails with a clean, dry nylon nail brush. Dry the hands thoroughly. File and shape the natural nails with a 180-grit file, leaving the free edge flat or square so that the forms will seamlessly fit the underside of the free edge. With a very fine-grit buffer, remove the shine from the natural nails (taking extra care to avoid any damage to the natural nail). You can also use a fine diamond, round-tip e-file bit on a low speed, holding the bit flat.
2. Remove Dust From Nails

With a clean brush, remove the dust from the nails. Do not touch the nails with your fingers, as your skin can deposit oils on the nails, leading to improper adhesion of product.
3. Apply Dehydrator

Once the dust is removed, apply dehydrator, which will remove any impurities left on the nails and dehydrate the nail plate. Using a sticky primer or a traditional acid-based primer for more adhesion, apply one coat of primer to all 10 nails (apply amply, but sparingly—do not let it flood the cuticles or sidewalls). Allow the primer to dry as you apply forms on the nails.
4.Decide on Reverse of Traditional Application

You can do a reverse or traditional application to create pink-and-white acrylics. For the traditional style, apply the white product first. Applying all the whites first keeps you focused on one technique and will allow you to go back and set the C-curve if needed. Your liquid monomer will become slightly milky as you work— another reason to do all the whites first, and then change out the liquid to apply the pink product. It’s best to apply the white powder for each tip in one ball; pick up a ball of white powder, flip the brush over and press out excess liquid on a clean spot of your table towel (Releasing excess liquid gives you more control, without speeding up the set time).
5. Timing on Wiping Smile Lines

Knowing when to wipe your smile lines takes practice and familiarity with your product. Dip your sculpting brush into the liquid and quickly wipe it off, twirling the bristles’ tip on your table towel for a perfect point. Holding the brush straight (with the upper end pointing to the ceiling), wipe and refine your smile line shape until the product no longer moves and is almost set up.
6. Apply Pink Product

After you have completed the white tip application, apply the pink product. By applying the white first and allowing it to dry, the white will have hardened by the time you apply the pink, so you will not smooth the pink into the smile line and ruin it. Working with a large ball, place the pink in the center of the nail plate and press it to the smile line without going over it. Apply a second wetter and smaller ball of pink above the cuticle and allow it to flow over the nail, giving you a smooth gradation of product.
Once the pink has been applied, check the profile of each and every nail to make sure each apex is thick enough and located over the critical stress area. If you feel you need to add more product, do so with a clear powder so you don’t muddy the smile line.
7. Remove the Forms from Nails

Remove the forms from the nails. With a hand file, shape the tips, sides and undersides of all 10 nails, making sure they are all the same length and consistently shaped.
8. Shape the Nail

Then, with a hand file or a medium-grit e-file bit, shape the surface of the nails, beveling the product near the cuticle to be flush with the natural nail. Again, check the profiles of all 10 nails.
9. Remove the Dust

Remove any dust from the nails. With a smooth buffer, repeat the filing steps: Shape the tips, sides and undersides of all 10 nails, then smooth the top surface. Remove the dust again and finish with a gel sealant for shin.
This article was originally published by Nailpro in 2015.


